Japanese Lantern Selling Company

The Chochin Creation Process

There are 10 steps in the process of making one lantern.

Lanterns as they have been from long ago are made with care one by one.

From here I wish to share that process with you.

1.Aburabiki(Oiling)

The oil is applied to the ends of the ends of the base where they have been burnt. Depending on this process when adding the rice paper on to the structure of the chochin, this makes it easier to remove. The process goes that the inside base will be taken out once the structure (bones) of the chochin are in place.

2.Wooden Structure

There are two ways to make the structure.

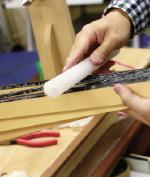
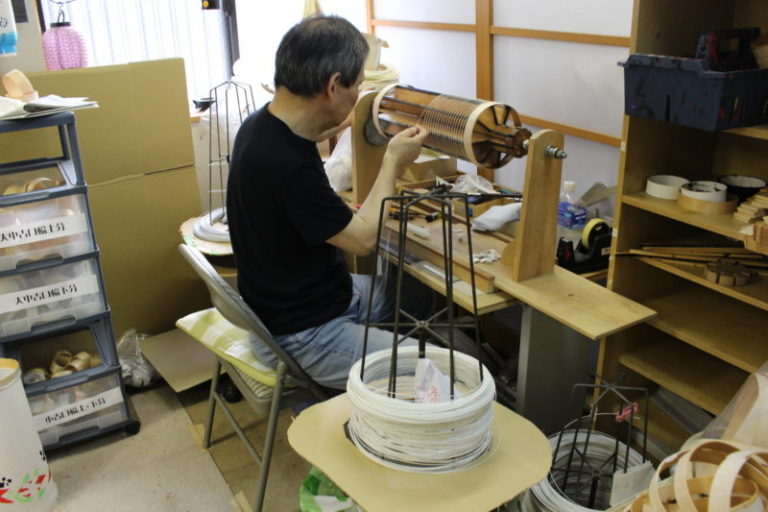
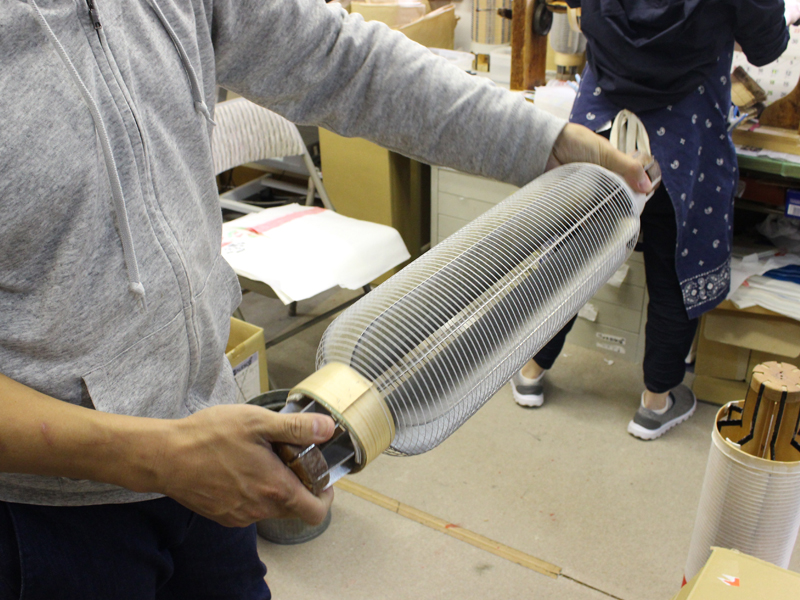
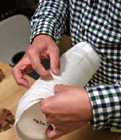
①Wrap the wooden structure in a spiral.

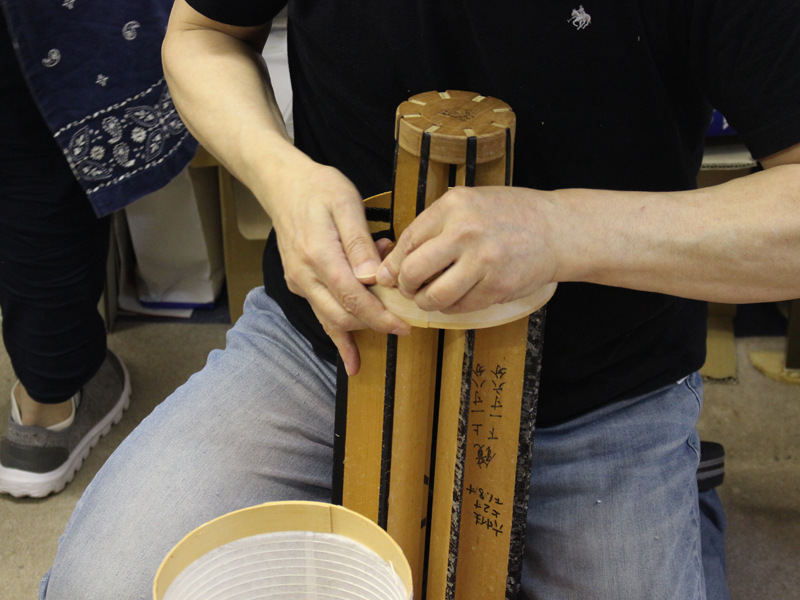
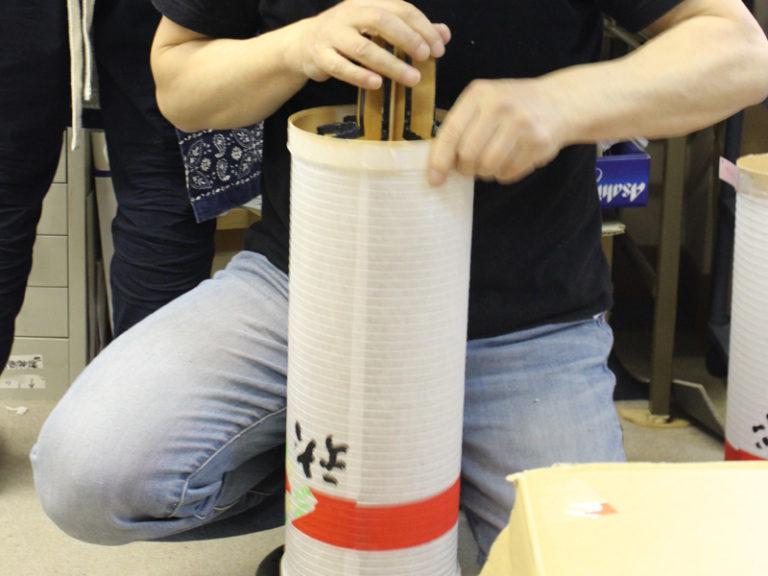
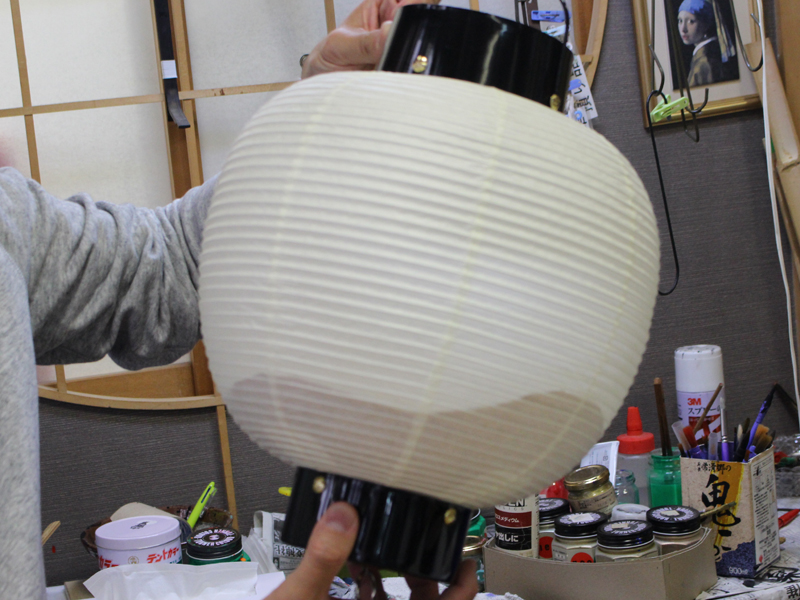
②Make the structure into circles and layer.

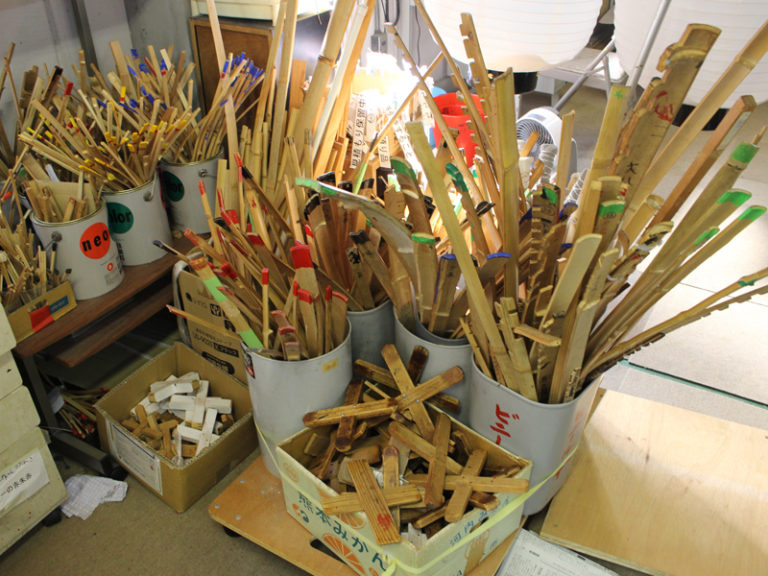
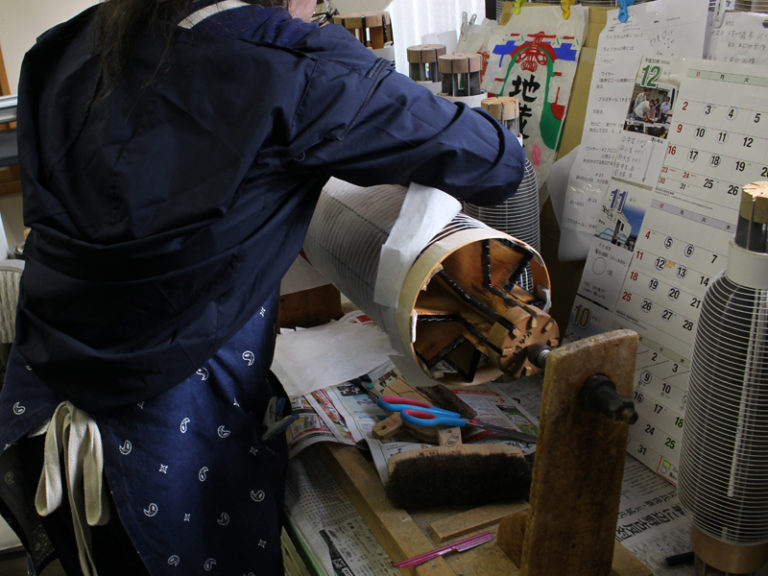
To make sure there are no deformations in the structure, the wooden base has numbers at the bottom of it so that it will go in order.

3.Framework

The round shape of the wooden structure is what gives the lanterns their shape. Stretching the thick paper across, you get a muzzle like shape. An interesting fact is the size and shape of this muzzle changes depending on the area from which it is made.

4.Higomaki (Winding)

The frame that was previously made then gets the thin wooden wrapping which becomes the bones of the lantern. Aligning with the size and shape, you then wrap the bamboo. To go along with the size or if appropriate you can use the bamboo or a wire.


5.Threading

A t the end of the bones, to enforce their strength, there is added a layer of threading. Depending on the size of the lantern the thickness of the threading also changes.


6.Kamihari (Paper Stretching)

Adding paper that has been dampened, you then attach the paper with starch glue to the bones. If you are not careful with how you add this glue on the front it will not come out looking well so this is one of the most important steps in the process. Also as a characteristic of Washi or rice paper, once they dry the wrinkles will expand and come to a smooth surface.

7.Etsuke (adding the art)

Once the paper has been stretched on the lanterns and dried, the images or letters are then painted on to the lanterns. The artists are careful to make every character 1-by-1. On round lanterns they add bamboo to the middle to stretch them out so that they can paint the letters on properly.

8.Removing the frame

Once the glue dries, the inside frame of the lantern’s base are then removed.

9.Sujitsuke (Creasing)

When the inner frame has been removed the lanterns are then carefully creased along the bones so they can then be folded!

Thus they are now able to be folded and moved around easily.

10.Dogutsuke (enforcing)

On the top and bottom of the lanterns there are the noticeable black wooden pieces know for decoration called the “skin”. In order to put the candle portion in this becomes a very important part. This pressure wheel at some point in time became known as the skin. In the Knato area of Japan we refer to it as the: “Jyuke” or duplex.

At shrines and from old festivals it is notable that depending on the area there are different types of skin depending on their location.